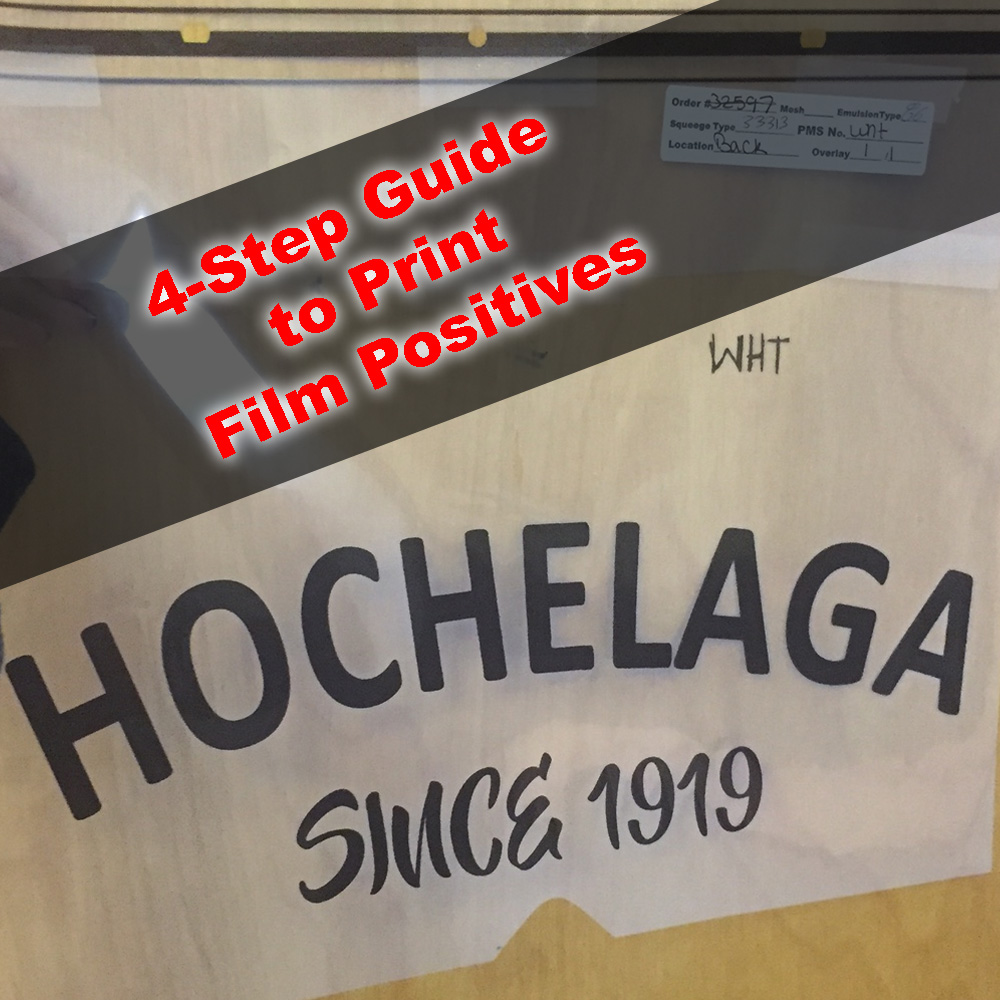
 One of the biggest challenge in the screen printing process is developing art into film positives. Carefully following a specific digital process and paying attention to detail is the answer. Preparing your digital image, separating your colors, adding registration and center crop lines, and using the proper materials will enable you to create an opaque film positive that will block out light.
1. Prepare your Digital Image.
Your image should be prepared on your desired program on the computer. We recommend using Adobe Photoshop or Illustrator. Once you have your image prepared at high resolution (300 DPI), you will need to make sure that the image is set at the desired dimensions. If you are printing for a left chest the image can be 3.5” to 5” and if you are printing on the front or back of a shirt the image can be from 8” to 11” depending on the garment, artwork, and desired size of the image. You may need to make additional adjustments to your image settings depending on the artwork and garment.
2. Separate your Colors.
Color separation will take the most time. The exact process will depend on the artwork and type of garment that you are printing on. The basic premise will remain the same. Each ‘Layer’ will be a different print color. This will allow you to print a separate piece of film to create a separate screen for each color. You must change each color on each layer to black prior to printing the film positive. After adjusting the settings of your artwork and separating your colors, you should add center crop marks and registration lines to each image layer. This will allow you to line up your film positives properly.
3. Use the Right Materials.
Making film positives requires two materials: We recommend using inkjet film, as this tends to be sturdier and more likely to create an opaque image. A cheaper option would be to use a less sturdy film positive known as Vellum. Printer ink can be either pigment based or dye based. Dye based ink makes for a more opaque print and a better film positive. For the best possible outcome you need to ensure that the film and ink work together effectively.
4. Consider RIP Software.
RIP software will help you increase the definition and opacity of your film. This might be necessary when printing highly detailed images, halftones, and process colors jobs. However, you do not necessarily need an RIP software.
Creating film positives can be intimidating. Once you master the process you will be able to produce excellent film positives every single time.
1 thought on “4-Step Guide to Print Film Positives”
Comments are closed.
Absolutely, Creating film positives is very intimidating. Thanks for this guide.
Bruce, https://www.printavo.com